

What Removes Grease Stains From Clothes Fast
Dish soap removes fresh grease stains from clothes because it’s a surfactant, which means it grabs onto oil molecules and lifts them away from fabric fibers instead of just pushing water around them. Blot the excess grease first, then work a few drops of dish soap directly into the stain before it dries.
For grease that’s already set in or survived a wash cycle, a thicker approach works better: mix dish soap with baking soda into a paste, press it into the fibers, and let it sit for at least 30 minutes before washing.
- Fresh stain: Blot, then treat with dish soap immediately.
- Set-in stain: Dish soap + baking soda paste, then a soak in an oxygen-based booster for 1 to 6 hours before laundering.
- Wash with a detergent that fully dissolves in cold or warm water, like a pre-dosed Purecise sheet, so the follow-up cleaning step doesn’t get short-changed by a leftover puddle of undissolved powder.
Key Takeaways
Dish-soap pretreatment breaks fresh grease within minutes, and a dish-soap-plus-baking-soda paste followed by a warm-water wash removes most stains that have already set in.
| Point | Details |
|---|---|
| Act within minutes | Blot excess grease and apply dish soap before the stain has time to dry and set. |
| Use the right paste ratio | Mix about 2 tablespoons dish soap to 1 tablespoon baking soda for set-in stains. |
| Respect dwell times | Let paste sit 30 to 60 minutes, or overnight for deep stains, before washing. |
| Never dry before checking | Dryer heat permanently bonds oil to fabric, so air dry and inspect first. |
| Finish with a full-dissolve wash | A pre-dosed Purecise sheet ensures the follow-up wash reaches full cleaning strength in any water temperature. |
Where to Read More on Grease Stain Removal
For deeper fabric-specific guidance, Martha Stewart’s grease stain guide and The Spruce’s rescue guide for washed-in stains cover edge cases in detail.
- How to remove oil and grease stains
- Fabric care best practices for durable clothing
- When in doubt, check your garment’s fabric-specific instructions before trying a new method.
Table of Contents
- The First Five Minutes: What To Do the Second You Spot Grease
- Proven Household Methods That Actually Break Down Grease
- How to Remove Set-In Grease Stains That Survived a Wash
- Treating Grease Stains by Fabric Type
- Mistakes That Turn a Fixable Stain Into a Permanent One
- Quick Troubleshooting for Stubborn Grease Stains
- Why a Two-Step Pretreat-and-Wash Routine Beats a One-Step Fix
- Frequently Asked Questions
- Sources
The First Five Minutes: What To Do the Second You Spot Grease
Speed matters more than technique in the first few minutes. Grease spreads and soaks deeper into fabric the longer it sits, so act before you even think about which product to grab.
- Blot, don’t wipe. Press a clean white paper towel or napkin onto the stain to soak up excess oil. Wiping smears it into a wider area.
- Slide a barrier underneath. Cardboard, a paper towel, or a folded towel behind the fabric keeps the grease from bleeding through to the layer beneath, a simple precaution that saves you a second stain to deal with later.
- Sprinkle an absorbent powder. Baking soda, cornstarch, or even baby powder pulls oil out of the fibers through capillary action. Let it sit 15 to 30 minutes.
- Apply a light layer of dish soap. Work it in gently with your fingertip, not a scrub brush.
- Rinse from the back of the fabric if you can reach it, which pushes the oil out rather than deeper in.
Pro Tip: Keep a travel-size bottle of dish soap in your bag or car console. Restaurant workers, parents, and mechanics who treat grease within the first ten minutes almost never end up needing a second round of treatment.
Proven Household Methods That Actually Break Down Grease
Grease behaves differently than a coffee spill or a grass stain. It’s oil-based, so water alone slides right past it, which is why so many people scrub a stain for five minutes and watch it barely budge. You need something that either absorbs the oil or chemically breaks its bond with the fabric.
Absorbent powders work through simple physics: capillary action draws liquid oil out of tight fibers and into the loose powder sitting on top. Baking soda, cornstarch, and talcum powder all do this job. Sprinkle a generous layer over the stain and walk away. Rubbing it in is the single most common mistake people make here. Pressure pushes the oil deeper instead of pulling it out. Give it some time, such as 15 to 30 minutes for a light stain, or longer for a heavier stain like motor oil or bacon grease.
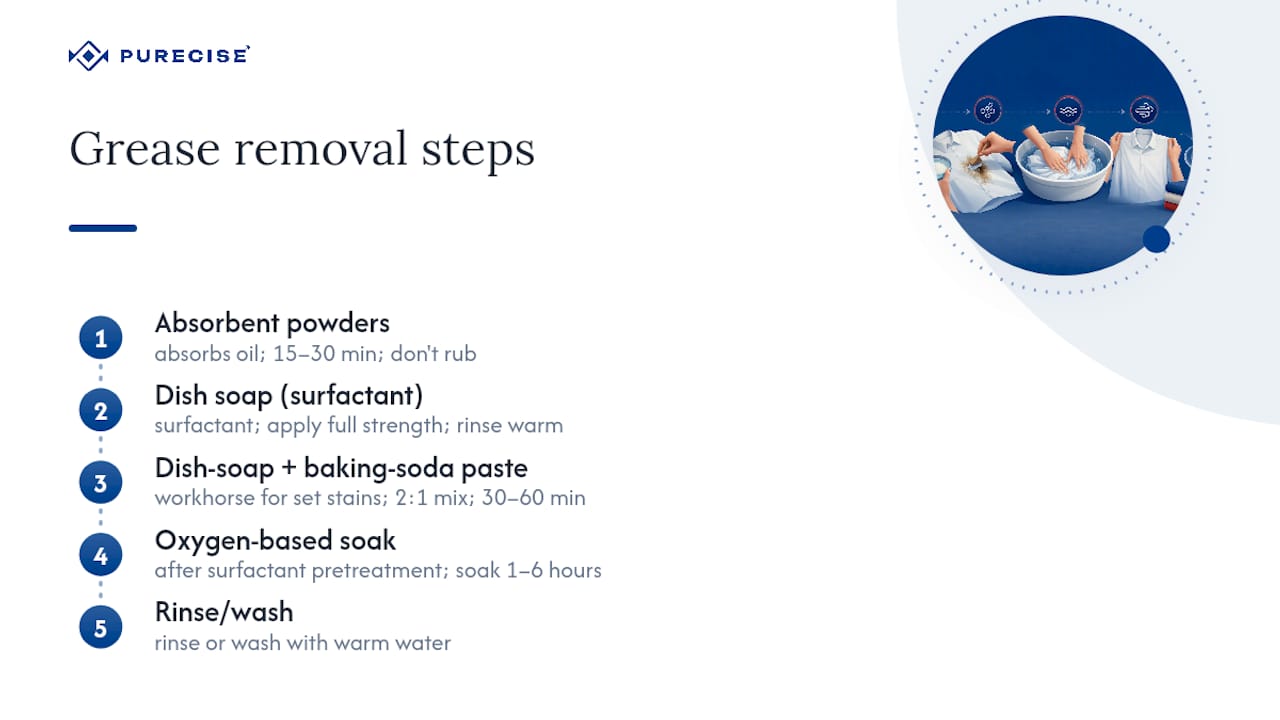
Dish soap is doing real chemistry, not just cleaning in a general sense. It’s a surfactant, meaning one end of the molecule binds to oil and the other end binds to water, so when you rinse, the soap drags the grease along with it. Apply it full strength directly on the stain, work it gently into the fibers with your fingers, and rinse with warm water.
The dish-soap and baking-soda paste is the workhorse for anything that’s already dried or set. Start with a ratio of about 2 tablespoons of dish soap to 1 tablespoon of baking soda, mixed until it forms a spreadable paste. Press it into the stain, cover both sides of the fabric if the grease has soaked through, and let it sit for 30 to 60 minutes. For heavy or old stains, leave it overnight.
Oxygen-based soaks step in when a paste alone isn’t cutting it. Testing from cleaning experts backs up what most laundry pros already know: surfactant pretreatment followed by a patient soak beats one-step spray removers for grease specifically, because sprays often lack the enzymes needed to target oil. Mix an oxygen-based powder per the package instructions and soak the garment for 1 to 6 hours, checking periodically.
For small spots on synthetic or stretchy fabric, rubbing alcohol can dissolve grease quickly, but test it on a hidden seam first since it can affect dyes. Chalk and hair spray show up in a lot of older stain-removal advice, but they’re weaker fixes at best and won’t touch anything beyond the lightest, freshest spot.
How to Remove Set-In Grease Stains That Survived a Wash
Finding a grease stain after the garment has already gone through the wash and dryer isn’t a lost cause, but it does mean the oil has had more time to bond with the fibers. Heat from the dryer is the real problem: it acts almost like an iron, permanently setting the oil into the weave if you’re not careful with round two.
Here’s the rescue sequence:
- Scrape or blot any remaining surface residue.
- Apply the dish-soap and baking-soda paste, working it into both sides of the fabric if needed, and let it sit 30 to 60 minutes, or overnight for a deeper-set stain.
- Soak in an oxygen-based booster for 1 to 6 hours in the warmest water the fabric label allows.
- Wash again at the warmest safe temperature.
- Air dry only. Inspect the fabric in bright light before it goes anywhere near a dryer.
If the stain is lighter but not gone, repeat the entire cycle rather than switching methods halfway through. Multiple passes are normal for stains that made it through a hot dryer cycle once already. Realistically, once heat has fully bonded oil to a fiber, you’re managing expectations: some fading is likely, but full removal isn’t guaranteed, and that’s the point where a professional cleaner starts making more sense than a fourth home attempt.
Treating Grease Stains by Fabric Type
Not every fabric can handle the same aggressive treatment, and using the wrong method on a delicate garment can do more damage than the grease stain itself.
- Cotton: The workhorse fabric. It tolerates strong pretreatment, hot water, and an overnight paste or powder session without much risk. This is where you can be the most aggressive.
- Silk and satin: Skip the dish-soap paste. Use an absorbent powder first, then a diluted baby-shampoo solution for gentle blotting. No scrubbing, no heat, and air dry flat.
- Wool and cashmere: Treat these the same gentle way as silk: a mild detergent or baby shampoo, powder absorption, and blotting rather than rubbing. Reshape the garment while damp and let it dry flat to avoid stretching.
- Synthetics (polyester, nylon): These respond well to standard dish soap and warm water. For spandex or activewear, rubbing alcohol can work on stubborn spots, but always spot test on an inside seam first since some synthetic dyes react.
- Leather: Minimal water, period. Blot immediately and use a leather-specific cleaner, or take it to a professional if the stain doesn’t lift on the first gentle attempt.
- Velvet: Oil hides underneath the pile, not just on the surface. Check the care label before doing anything: if it says dry-clean only, home wet treatments risk crushing or discoloring the pile permanently.
If a label says “dry clean only,” that instruction exists for a reason tied to the fabric’s structure, not just the manufacturer covering itself. When in doubt, a gentler approach that takes longer beats an aggressive one that ruins the garment in five minutes.
Mistakes That Turn a Fixable Stain Into a Permanent One
A few habits show up over and over in stains that never come out, and almost all of them involve someone rushing the process.
- Using the dryer before the stain is confirmed gone. Heat sets oil into the fibers almost instantly.
- Scrubbing hard from the front. This pushes grease deeper into the weave instead of lifting it out.
- Letting a spray pretreatment dry on the fabric. Some products stain if left too long without rinsing, so always follow the label’s timing.
- Mixing incompatible cleaning chemicals, like ammonia and bleach, which creates dangerous fumes for zero cleaning benefit.
The single biggest reason a treatable grease stain becomes a permanent one isn’t the wrong product. It’s the dryer. One hot cycle can undo every step you did correctly beforehand.
Quick Troubleshooting for Stubborn Grease Stains
If the stain looks lighter after your first treatment, that’s a good sign: repeat the paste-and-soak cycle and rewash before even thinking about the dryer. Two full cycles with zero visible change means it’s time to switch tactics rather than repeating the same approach a third time.
- Try a stronger oxygen-based soak, or consider professional cleaning at this point.
- Always test any solvent, including rubbing alcohol, on a hidden seam before applying it to the visible stain.
- For anything labeled “dry clean only” or made from a delicate fiber, skip ahead to a professional cleaner sooner rather than risking a home treatment that damages the garment.
Why a Two-Step Pretreat-and-Wash Routine Beats a One-Step Fix
Grease responds to a different kind of chemistry than protein or starch stains, which is exactly why a lot of general-purpose stain sprays underdeliver. A surfactant pretreatment loosens the oil’s grip on the fabric; the wash cycle that follows needs a detergent capable of finishing that job, not diluting it.
That’s the logic behind pairing dish-soap pretreatment with a wash step using a detergent that dissolves completely, regardless of water temperature. A powder that clumps in cold water or a liquid that gets over-poured either leaves residue on the exact spot you just treated or wastes product without added benefit.
- Pretreat the stain with dish soap or the baking-soda paste.
- Drop a pre-dosed Purecise laundry detergent sheet into the drum.
- Wash at the warmest temperature the fabric label allows.
- Air dry, and check the stain in good light before it ever sees the dryer.
Pro Tip: Pre-dosed sheets remove the guesswork of liquid measuring, which matters most right after a spot treatment when you’re already juggling a paste, a timer, and a stained sleeve.
A Tested Approach, and a Little Patience
Kitchen-cupboard fixes work more often than people expect. Dish soap and baking soda have pulled grease out of more shirts and work pants than most specialty sprays ever will. The part people underestimate is patience: stubborn stains sometimes need two or three honest attempts, not one perfect one.
Purecise built its detergent sheets around that same principle: simplify the parts of laundry that don’t need to be complicated, so you can focus your effort where it counts.
Follow Up Every Grease Treatment With a Wash That Actually Finishes the Job
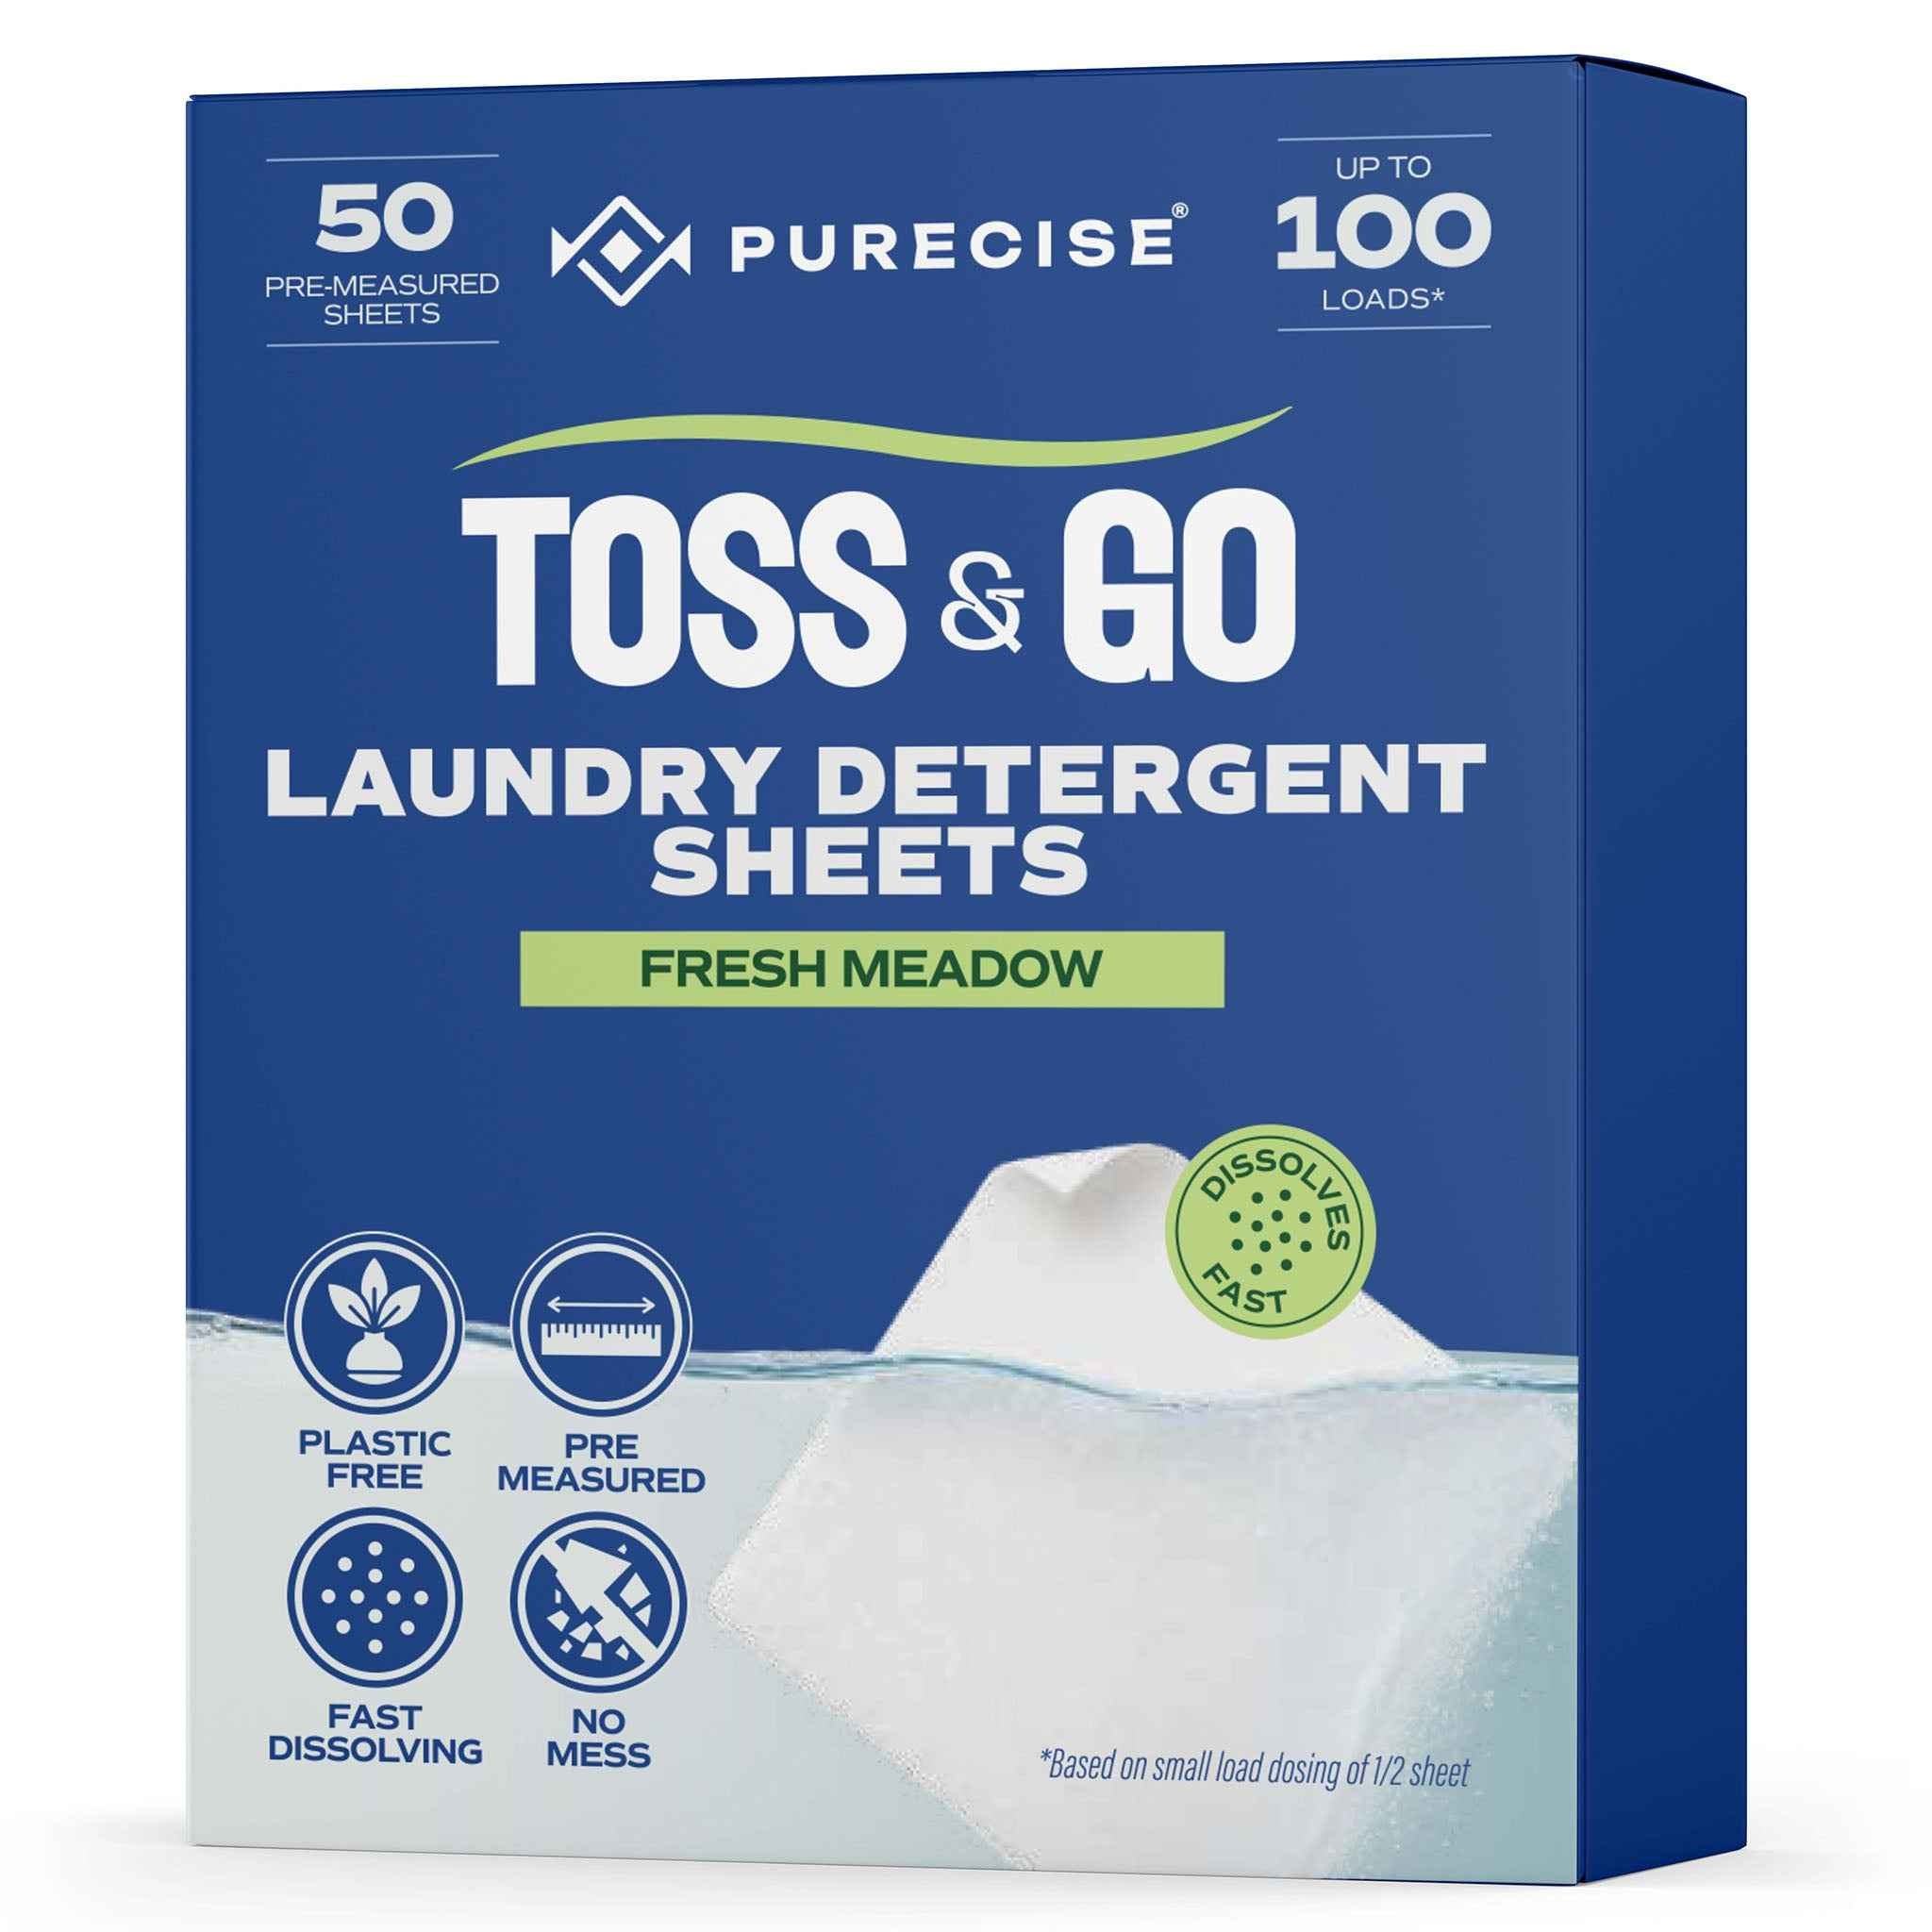
A pretreatment only does half the work. The wash that follows needs a detergent that dissolves completely and reaches full strength in whatever water temperature your fabric allows, and that’s where a lot of grease removal attempts quietly fail. Liquid detergent that gets under-poured, or powder that clumps in a cold cycle, leaves your carefully treated stain sitting in a wash that’s weaker than it should be.
Purecise’s pre-dosed sheets solve that specific problem: each one dissolves fully whether you’re washing in cold, warm, or hot water, so there’s no measuring error and no undissolved residue sitting on top of the exact area you just treated. Pretreat the stain, drop one sheet into the drum, wash at the warmest safe setting, and air dry before checking your work.
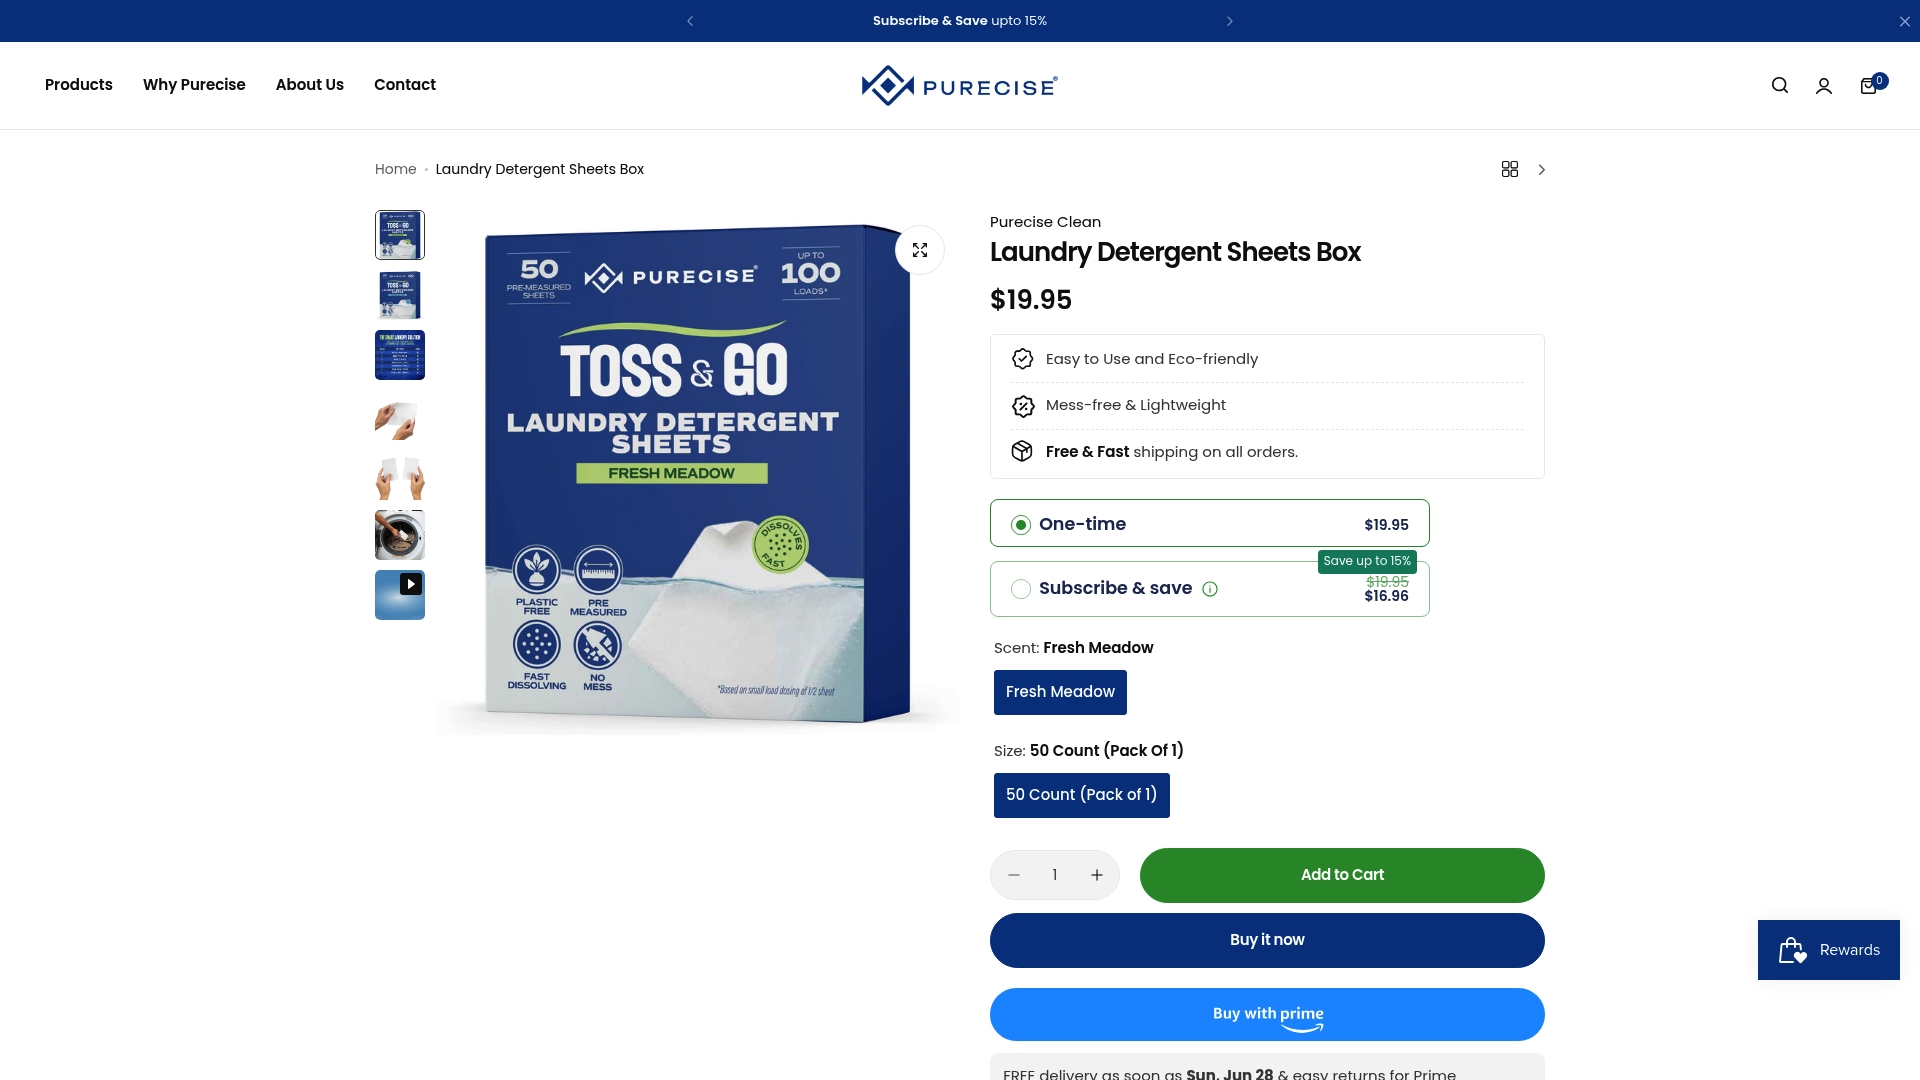
For regular laundry days, the Laundry Detergent Sheets Box covers a full month’s supply without a single bottle taking up shelf space. If you’re treating a stain while traveling or just want a smaller starting point, the Laundry Detergent Sheets Envelopes fit in a pocket or a carry-on. Either way, the next load you run is the one that decides whether that grease stain actually disappears for good.
Frequently Asked Questions
What removes grease stains from clothes best on the first try? Dish soap applied directly to a fresh stain and worked in gently removes most grease before it sets, since it’s specifically designed to break oil’s bond with surfaces.
What cleans oil stains from clothes after they’ve already dried? A dish-soap and baking-soda paste left on for 30 to 60 minutes, followed by an oxygen-based soak and a wash at the warmest safe temperature, handles most dried oil stains.
Can I use dish soap on all fabrics? No. Cotton and most synthetics handle dish soap well, but silk, wool, and cashmere need a gentler approach like diluted baby shampoo to avoid damaging delicate fibers.
How long should I soak a grease-stained garment? Oxygen-based soaks typically run 1 to 6 hours, while a dish-soap paste needs 30 to 60 minutes of dwell time, or overnight for heavier or older stains.
Is it safe to put a grease-stained item in the dryer? Only once you’ve confirmed in good light that the stain is completely gone. Dryer heat sets any remaining oil into the fabric permanently.
Sources
- How to remove oil and grease stains
- How to Remove Grease Stains From Clothes, No Matter the Fabric
- How to Remove Grease Stains From Clothes That Have Already Been Washed
Recommended
- Mastering Stain Removal: How to Treat Food Stains on Different Fabrics – Purecise Clean
- How Enzyme Cleaners Work for Natural Stain Removal – Purecise Clean
- Natural Stain Removal: Say Goodbye to Food Stains – Purecise Clean
- Purecise Laundry Detergent Sheets: Clean Clothes, Greener Planet, More – Purecise Clean
How Many Detergent Sheets per Load Do You Actually Need?
Dorm Laundry Essentials: A Space-Saving Kit for Students
Related Posts

Whiten White Clothes, No Chlorine: 4–8 Hour Soak, Premeasured Sheets

Remove Blood Stains from Clothes: Cold Water, Enzyme Soak, No Dryer

Pet Owners: Remove Hair from 5 Surfaces with a Washer and Dryer Trick

Wash Sheets Weekly, Dry Them Fully, and Stop Dosing Guesswork

6 Quick Steps to Remove Oil Stains at Home Without Ruining Clothes

Save Space: 50 Sheets Cover 50–100 Loads for Airbnb Hosts

Cut Detergent 25–50%: Use Premeasured Sheets for Soft Water


