

6 Quick Steps to Remove Oil Stains at Home Without Ruining Clothes
Blot the excess oil, cover the spot with baking soda or cornstarch, pretreat with a grease-cutting dish soap, then wash on the warmest temperature safe for the fabric. Air-dry and repeat if the mark is still visible. Fresh stains usually respond to this sequence within one wash cycle, while set-in stains need a stronger paste, a longer soak, and realistic expectations about full removal. Always check the care label and test any aggressive treatment on a hidden seam first.
TL;DR:
- Applying baking soda or cornstarch promptly absorbs surface oil and helps prevent the stain from setting in permanently.
- Fresh oil stains respond best to immediate treatment with powder, dish soap, and warm water, often within one washing cycle.
- For set-in or dried stains, longer soaking, multiple treatments, and using warm water are necessary, but complete removal may no longer be possible.
- Delicate fabrics like silk or wool require milder treatments or professional cleaning, while sturdy fabrics tolerate stronger pretreatments and higher temperatures.
- Testing cleaning products on hidden areas and avoiding heat until stains are fully removed can prevent permanent damage.
Table of Contents
- Quick steps for treating a fresh oil stain
- How baking soda, dish soap, and pretreats actually work
- Treating a set-in or already-dried oil stain
- Matching the method to the fabric
- Testing, safety, and when to call a professional
- Why simple steps should always come first
- Where Toss & Go sheets fit after you pretreat
- Sources
- FAQ
Quick steps for treating a fresh oil stain
Speed matters more than technique here. The American Cleaning Institute notes that the less time a stain sits, the easier it lifts, so treat it the moment you notice it.
- Scrape off any excess oil with a spoon or dull knife, working from the edge toward the center so you do not spread the stain.
- Blot, do not rub, with a paper towel or clean cloth to pull up surface grease.
- Cover the spot generously with baking soda or cornstarch and let it sit.
- Brush away the powder, then apply a few drops of grease-cutting dish soap directly to the stain and work it in gently.
- Let the soap sit for a few minutes, then launder on the warmest water the fabric allows.
- Air-dry and check before running it through the dryer.
If you are treating this on a tabletop or countertop, slide a piece of cardboard or a folded paper towel behind the fabric before applying powder. It catches any oil that seeps through and keeps the stain from transferring to whatever is underneath.
Pro Tip: Keep a small tin of baking soda, a travel-size dish soap, and a few cotton pads in your car or bag. Treating a stain within minutes beats any product you buy later.

How baking soda, dish soap, and pretreats actually work
Absorbent powders and dish soap solve different parts of the problem, and knowing why helps you use them correctly.
- Baking soda and cornstarch work by physically absorbing oil out of the fibers rather than dissolving it, which is why the University of Georgia Cooperative Extension recommends applying them generously and letting them sit at least 30 to 60 minutes before brushing away.
- Heavier or older stains benefit from a longer dwell time, often several hours or more, with a second application once the first has absorbed what it can.
- Dish soap works through surfactants, the same molecules that let it cut through greasy pans, and the same extension guidance points to dish soap as more reliable on oil-based stains than plain water or shampoo.
- A short dwell time, roughly 5 to 15 minutes, is usually enough for dish soap to break the oil’s grip on the fabric before washing.
- For a stain that has already dried, mix baking soda and dish soap into a thick paste and work it into the fibers with an old toothbrush before laundering.
Solvents like rubbing alcohol or WD-40 can loosen oil that soap alone will not touch, but they belong at the bottom of the list. Spot-test on a hidden seam, work in a ventilated space, and skip them entirely on delicates, silk, or anything marked dry-clean-only.
Pro Tip: Layer treatments instead of scrubbing harder. A second round of powder and soap almost always beats one aggressive attempt.
Treating a set-in or already-dried oil stain
Once a stain has been through the wash and dryer, it behaves differently, and your odds of full removal drop with every heat cycle it survives.
- Apply baking soda or cornstarch to the dry stain and let it sit for at least an hour to pull out what oil it can.
- Work a paste of baking soda and dish soap into the fibers and let it sit for 30 to 60 minutes, longer on sturdy cotton.
- Soak the garment in warm water with a stain remover or grease-cutting detergent, checking every 30 minutes.
- Launder on the warmest safe temperature, then inspect the stain wet, before it goes anywhere near heat.
- Repeat the paste-and-soak cycle if a shadow remains rather than reaching for the dryer.
If a solvent-based product is your next step, rinse it out completely before laundering so it does not react unpredictably with detergent. Some oil stains, especially those that have been dried and reheated several times, become effectively permanent. At that point, dyeing the garment or repurposing it makes more sense than repeated treatments that risk thinning the fabric or fading the color.
Matching the method to the fabric
Fabric determines how aggressive you can safely be, and getting this wrong causes more damage than the original stain.
- Cotton and denim tolerate warm water, brushing, and stronger pretreats, so you can lean on the full baking soda and dish soap sequence without much worry.
- Synthetics like polyester hold onto oil more stubbornly, so stick with dish soap and warm, not hot, water since heat can set the stain into the fibers permanently.
- Silk, wool, and cashmere need a gentle touch: test any product first and lean toward mild cleaners or a trip to the dry cleaner rather than a home solvent.
- Leather and suede respond well to absorbent powders left on for several hours, but a persistent mark is a job for a leather specialist rather than a DIY solvent.
The same layering logic applies to carpet, upholstery, and concrete, where you blot or scrape first, apply an absorbent powder or cat litter for concrete, then follow with dish soap and water worked in with a brush.
Pro Tip: When in doubt about a fabric, treat it like silk. Underestimating a delicate material costs you the garment; overestimating a sturdy one only costs you time.
Testing, safety, and when to call a professional
A few precautions separate a saved garment from a ruined one.
- Test any product on an inside seam or hidden hem first and check the label, since extension guidance consistently stresses colorfastness testing before treating visible areas.
- Never mix bleach with ammonia or solvents, and work in a ventilated space with gloves whenever you use a solvent-based product.
- Confirm the stain is completely gone before it touches a dryer or iron, since heat is the most common reason a treatable stain becomes permanent, according to ACI’s stain-removal materials.
- Take structured garments, lined jackets, vintage pieces, or anything you are not willing to risk to a professional cleaner rather than experimenting at home.
Why simple steps should always come first
Reaching for a solvent feels like progress, but most oil stains never need one. Absorbent powders and dish soap handle the majority of cases with no risk to color or fiber, and they cost you nothing you do not already own. The instinct to escalate to something stronger usually does more harm than the stain itself, especially on fabric nobody bothered to test first. Start gentle, confirm the label, and only reach for solvents when the simple version has genuinely failed.
— Purecise
Where Toss & Go sheets fit after you pretreat
Once a stain is scraped, powdered, and treated with dish soap, the wash itself is the easy part. A Toss & Go sheet dissolves completely in hot or cold water and works in HE, front-load, top-load, and standard machines, so the warmest safe temperature for your fabric is never off the table.
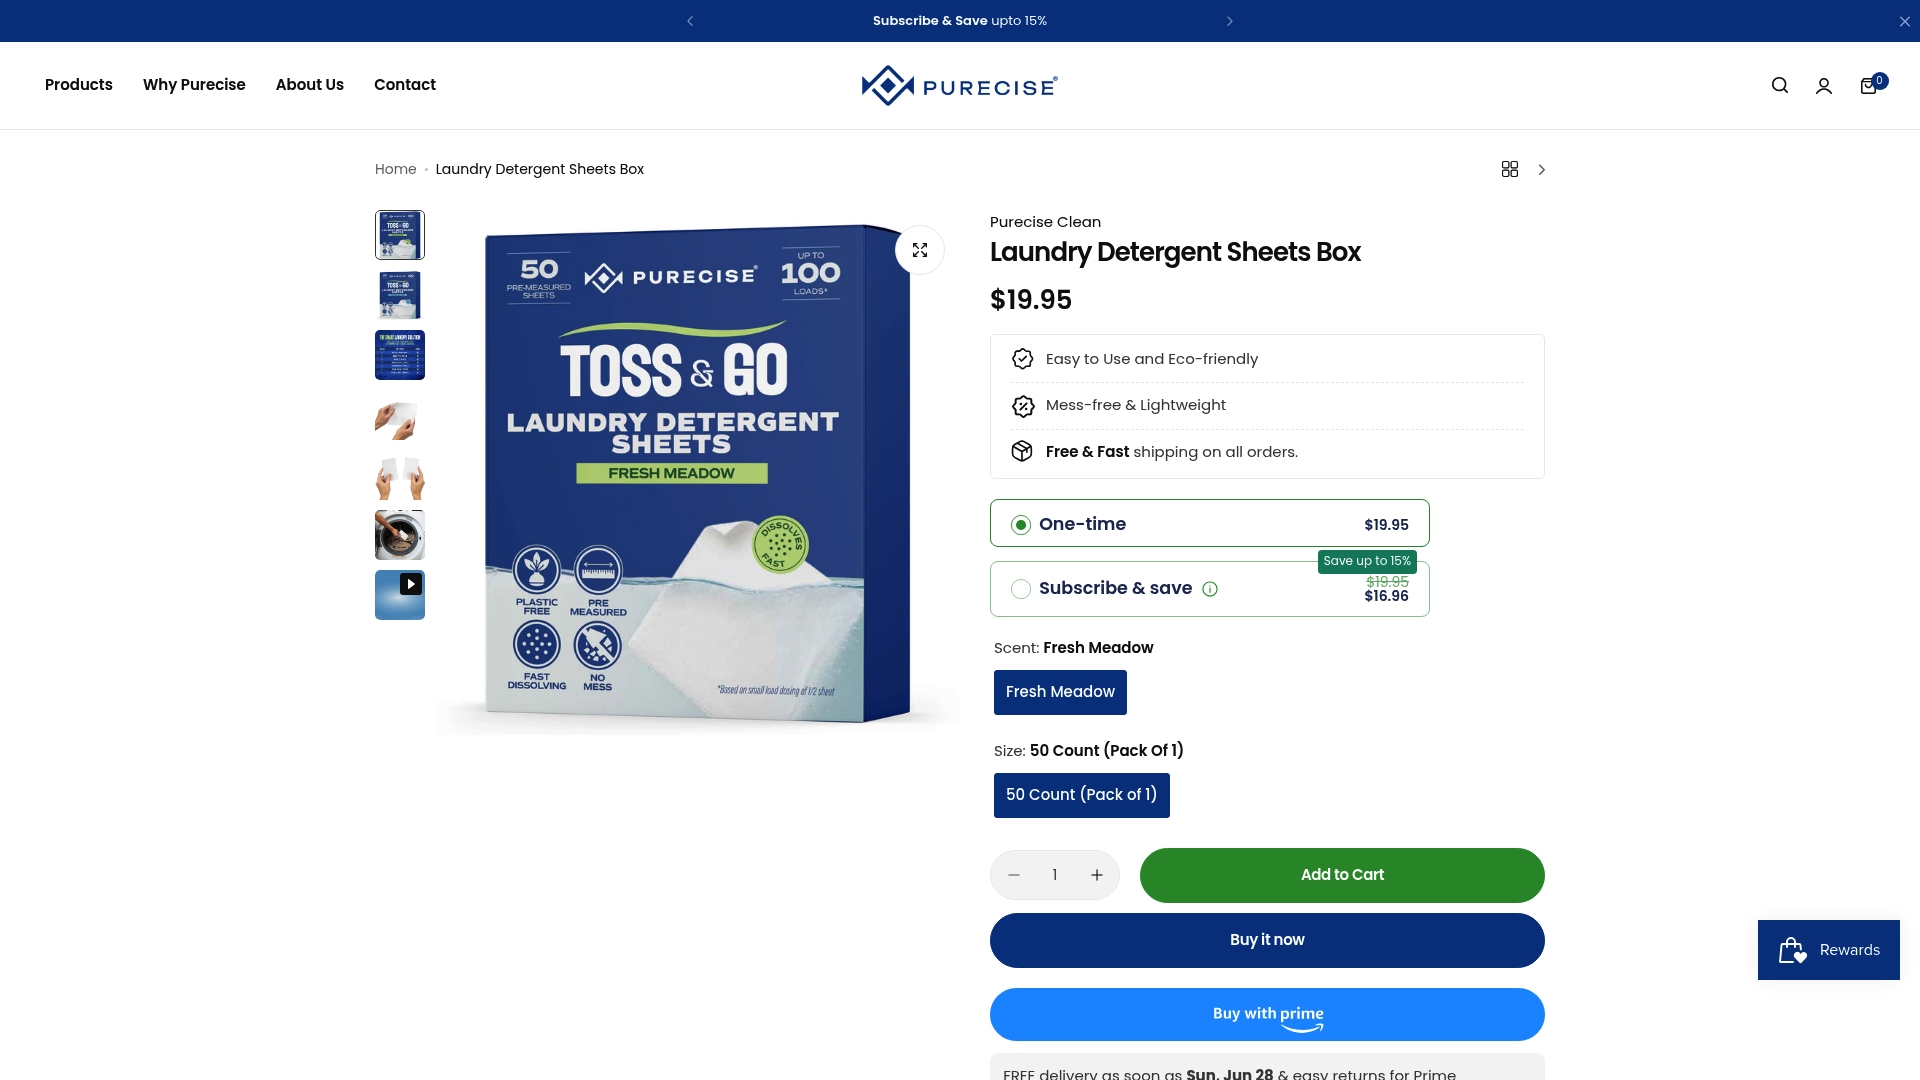
- One sheet holds a pre-measured dose, so there is no guessing after you have already fussed over a stain.
- The paper wrapper and carton are plastic-free, with no jug to rinse or store.
- Every added ingredient is published with CAS numbers on our ingredients page.
- A satisfaction guarantee covers a refund or replacement with nothing to ship back.
The travel 3-pack is worth keeping in a bag for stains that happen away from home, when a full bottle of detergent is not an option.
Sources
- Stain Removal Guide | The American Cleaning Institute (ACI)
- Stain removal: Oil | University of Georgia Cooperative Extension
FAQ
What is a good heavy-duty oil stain remover?
A grease-cutting dish soap paired with an absorbent powder like baking soda handles most oil stains without needing a specialty product. For set-in stains, a dedicated stain remover applied before washing, combined with a longer soak, works as a heavier-duty step described in ACI’s stain removal guidance.
Does WD-40 remove oil stains?
WD-40 can loosen old or stubborn grease because it is itself an oil-based solvent, but it needs to be followed immediately with dish soap and a hot wash to fully remove it from the fabric. Always spot-test first and avoid it on delicates or dry-clean-only garments.
Will Dawn remove old oil stains?
Dawn and similar dish soaps are effective on fresh oil stains because their surfactants are built to break down grease, as noted in extension guidance. On old or set-in stains, dish soap alone is often not enough and works best combined with a baking soda paste and a longer soak.
Does baking soda remove old oil stains?
Baking soda can lift some residual oil from an old stain, especially when left on for an hour or more and combined with dish soap into a paste. Full removal is less likely once a stain has already been through a hot dryer, so treat it as one step in a longer process rather than a fix on its own.
Recommended
Related Posts

Save Space: 50 Sheets Cover 50–100 Loads for Airbnb Hosts

Cut Detergent 25–50%: Use Premeasured Sheets for Soft Water

Lab Tests and LCA: When Powder Beats Detergent Sheets

Cold Water Cleans: Evidence, Energy Savings, and When to Use 150°F

Color-Safe Detergent for Sensitive Skin: Premeasured Sheets

Remove Ink Stains With 70% Alcohol and Premeasured Detergent Sheets


